Wood Lathe For Beginners: A Complete Guide
Woodworking is a craft that has been practiced for centuries. It’s still one of the most popular crafts in America today, and projects can be completed with little more than a few tools and some wood.
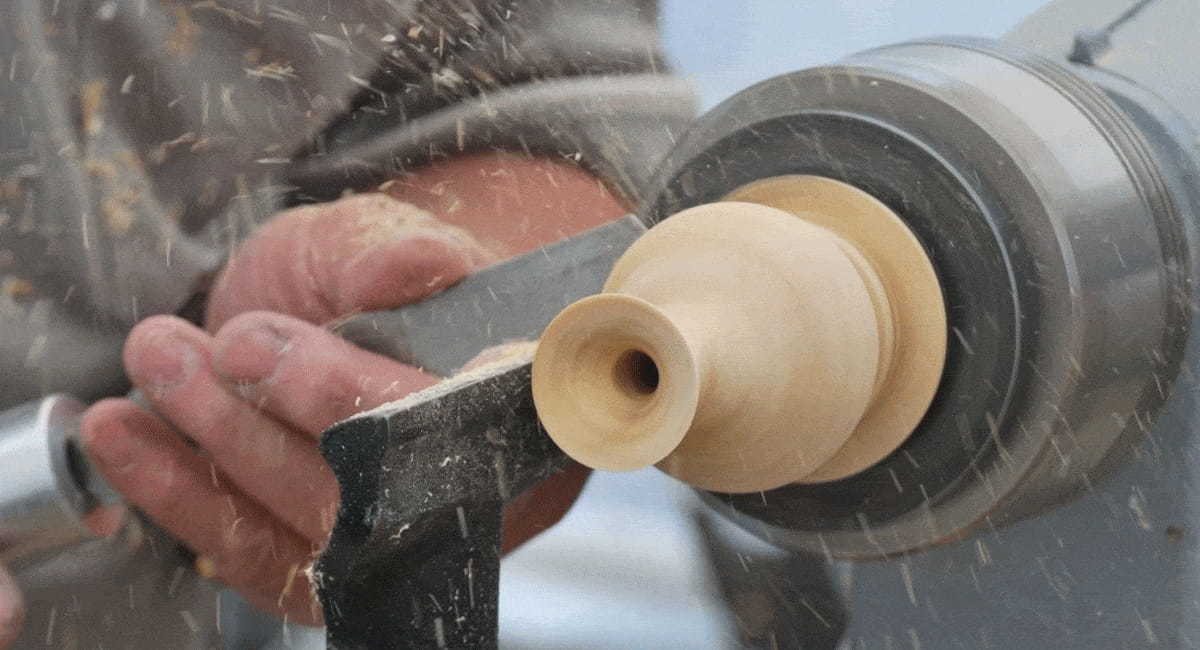
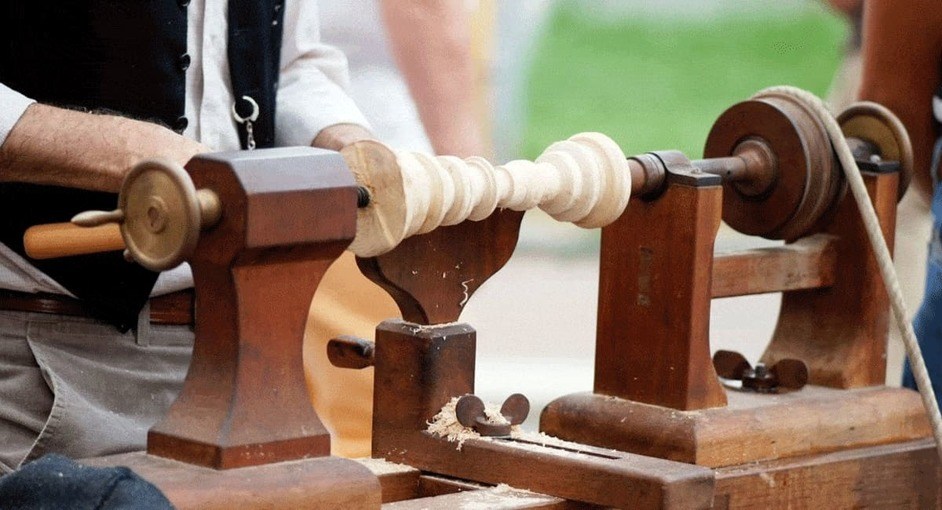
There are many different types of wood lathes, but they all serve the same purpose. A lathe spins a piece of unfinished lumber on a central axis, working from both sides to shape it into a smooth finished product.
In this article, we will talk about how to use a wood lathe for beginners. We’ll focus on safety and the different accessories that you can purchase to expand your lathe’s capabilities.
How To Use A Wood Lathe: A Step By Step Guide
Step 1: Select The Right Lathe For The Job
The first step in the process is to choose a wood lathe that best suits your needs. It would be a shame to buy one and only discover later that it’s too complex or not powerful enough for your woodworking needs.
Step 2: Learn How To Use The Lathe’s Components
Before using your new wood lathe, it’s important to familiarize yourself with all of its components. This includes moving parts such as the bed and the headstock (the areas that hold the wood in place), as well as the handle, table, packing materials, and any additional accessories.
Step 3: Choose The Right Tools For Your Project
It’s essential to understand how your wood lathe operates before using it. A simple way to begin is to pick a piece of scrap lumber. The size and type of your project should determine what kind of tools you use, including: chisels, gouges, drill bits, or even knives.
Step 4: Read The Entire Operating Manual Prior To Use
It’s very important that you read the entire user manual before using your wood lathe. It’s also a good idea to keep it nearby so that you can refer back to it if/when necessary.
Step 5: Pick A Quality Piece Of Wood For Your Project
The type of wood you use will play a huge part in how your project comes out in the end. Fine woods usually yield better, smoother results since they are easier to turn on a lathe and less likely to splinter or crush under the pressure of the tools.
Make sure that if you’re using an exotic variety of wood it’s clearly marked so that you can easily recognize it.
Step 6: Outline Center Of Each End of Your Stock & Place It Between The Lathe’s Centers
The first step is to outline the center of each end of your wood and place it between the lathe centers. Some people like to secure it with a robust clamp, but you can also use a handscrew or an F-clamp.
Step 7: Place Tool Rest Parallel To The Length Of The Stock
The tool rest should be placed parallel to the length of the stock. The most common way of doing this is by adjusting it until there is a gap of about 1/8 inch (3 mm) between the tool and the wood.
Step 8: Give Workpiece A Spin With Your Hand- Adjust The Rest If Necessary
You will want to start off on a low speed and gradually increase it as you go along. Some woods (like maple) often splinter more easily at higher speeds.
Step 9: Get A Chisel For The Turning Operation
The chisel is used to rough out the shape of your stock. It should be inserted at an angle of 45 degrees with the bevel side down, as this will help prevent splintering.
Step 10: Turn The Wood Lathe On And Increase The Speed
You’ll want to increase the speed gradually as you continue cutting. This should allow you to remove wood at a faster rate, which prevents possible damage or cracking.
Step 11: Observe Size Of The Chips Being Cut From The Stock
It’s important to regularly check the size of the chips to see if you can cut them down in order to avoid too much resistance. This also allows you to hone the design of your final product.
Step 12: Move Cutting Edge Parallel To The Rotation Of The Stock
The closer you’re able to get the cutting edge to the rotation of the stock, the smoother your final product will be.
Step 13: Keep Pushing The Chisel Into The Workpiece Gradually
It’s important to keep pushing the chisel in until you reach the desired diameter of your product.
Step 14: Stop The Lathe And Check Your Progress (Repeatedly)
You’ll want to stop the lathe from time to time to make sure that there are no ridges in your product.
Step 15: Increase Lathe Speed To Smooth The Finished Round Workpiece
Increase the lathe speed once again in order to smoothen out your product. You can also use a wood file or a small piece of sandpaper for this step.
Step 16: Use Sandpaper To Smooth Out The Surface Of Your Product
For more detailed pieces, you may need to smooth out the surface with finer grits of sandpaper.

Step 17: Add Color And Patterns To Your Product By Burning It With A Torch
If you want to add color and patterns to your product, you can use a portable blowtorch. You can also choose from any number of dyes or paint options if you don't have access to a torch.
Important Safety Precautions
While using a lathe can be a lot of fun, there are a number of safety precautions that you must follow in order to avoid injury. These include:
Appropriate Dress
If you're going to be using a wood lathe, it’s important to wear comfortable clothes that allow you a full range of movement. This includes pants with no loose strings or seams, closed-toed shoes with good traction, and long-sleeved shirts.
Bump Caps
If you’re planning on using the lathe for long periods, you use a bump cap to protect your head from any flying debris.
Earplugs
To avoid being exposed to deafening sounds for extended periods, it’s advised that you wear earplugs when using a wood lathe.
Eye Protection
Protect your eyes from any possible debris and sparks by covering them with safety glasses or goggles.
Gloves
Wearing gloves will help you to avoid blisters and splinters.
Height
Make sure that the height of your lathe allows you to stand upright and to not be hunched over or bent down too much. You’ll want to be able to use your hands and arms freely, rather than having them behind your back for support.
Lockout
You must lock out all power sources before attempting any repairs on your lathe. This includes unplugging it and removing all of the fuses.
Masks
Wear a mask to prevent yourself from breathing in any possible carcinogens, such as sawdust and other wood particles.
Respirator
If you are planning on using stain or paint, you should use a respirator for additional protection against fumes.
Wood Lathes For Beginners- Final Thoughts
Wood lathes for beginners are a wonderful way for those interested to get invested in woodworking, whether for work or hobby. It’s an affordable tool that can be used to create products ranging from bowls, pens, knickknacks, and many other items.
When you first begin using it, be sure to take your time and go slowly until you've mastered the basics. Once you've achieved this, you can begin working on more intricate and detailed products.
Before buying a wood lathe, make sure to do your research; compare prices between different types of manufacturers to find one that fits within your budget.
Last Updated on April 30, 2022 by Tom Bradly

