Best Methods to Keep Wood From Splitting
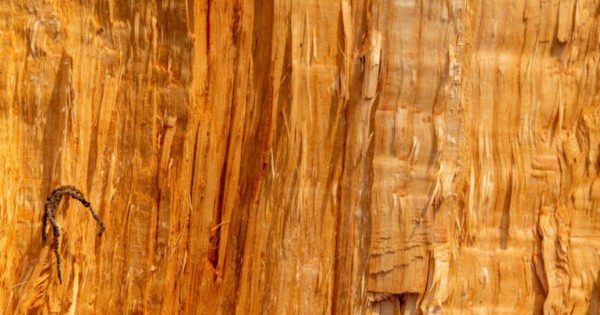
The scariest thing for a woodworker is being halfway done with a project and seeing the wood start to crack. Cracking wood can happen due to moisture, humidity, and recently sawed or nailed wood.
To keep the wood from splitting, pretreating it with paint, drying, and applying home remedies such as linseed oil and stabilizer can work magic.
But we've just scratched the surface. To keep wood from splitting, you need to know what causes it to crack and techniques that can save you from getting cracks in the first place.
What Causes Wood to Split?

As they say, prevention is better than a cure. So would you instead try to fix the cracked wood or prevent it from happening?
To prevent the wood from splitting, however, you need to be aware of all the things that could cause it. If the issue is with the humidity, for example, you risk losing a lot of stock wood in your garage.
It could also be due to the moisture, handling, or the environment.
So let's dive and first talk about the many reasons that can cause wood to crack.
High Moisture
Greenwoods can often split and crack if the water content inside the wood is more than 19%. This can happen due to high humidity or if the wood comes in contact with a puddle of water for a long time.
It also depends on the usage of wood. For example, if the wood is going to be used for indoor purposes, then the moisture level should be around 7%; however, in the case of wood flooring, this number can be 14%.
If it is more than this, then the wood will split. This is because wood is essentially made up of fibers. If water molecules enter these fibers, they will expand the radius, thus making the wood expand.
Low Moisture
Similar to the previous case, extremely low moisture levels aren't good. As we mentioned earlier, the ideal case for wood is to have moisture levels between 7% to 14%.
If it is any lower, then the wood will also crack. This can happen due to being in an extremely hot place or with low humidity.
Essentially, when the moisture levels are too low, the water inside the fibers will evaporate. This will cause the wood to shrink. In addition, the force due to contraction can cause cracks in the wood piece.
Contraction and Expansion
If you made a wood joint too tight or loose, it could cause the wood to contract and expand.
As you may have already assumed, this isn't good for wood fibers. They will likely crack.
Hammering and Screwing
If you are a woodworking novice, you may have a few failures when hammering the nails or using screws to hold things in place.
However, these can permanently damage the wood, thus creating imperfect joints.
While it will take time to hone woodworking skills, there is an easy remedy to prevent any cracks. This can be done by not abusing the wood by hammering or screwing too hard. Instead, use less force and hammer multiple times.
Second, use a rubber mallet, as this can prevent many cracks from forming.
Best Methods to Keep Wood From Splitting
While humidity changes can be unaccounted for in natural settings, there are several methods to keep wood from splitting.
Sealant or Stabilizer
A sealant or stabilizer can significantly reduce your worries as it effectively prevents the wood from drying and thus avoids shrinkage.
Not only is it one of the easiest methods, but it is also relatively cost-effective. There are several sealants which you can choose from, but we suggest you go with anchor seal.
Essentially, a sealant or stabilizer is a wax that will waterproof the wood's surface, thus preventing any contact with external water.
This method works for areas with high and low humidity both. When applying the sealant on your furniture, avoid skin contact.
How to Apply?
To apply a sealant, you must ensure it covers the body completely. Thus, you will need sanding paper and some wood cleaning supplies.
First, clean the wood so no dust comes in contact with the sealant later. This can be done by using a hand towel lightly damped with water.
After you have cleaned the surface, it is time to sand it. We advise you to use 220 grit sandpaper. Using finer ones can affect the overall look of the wood grain, thus ruining the aesthetic.
Finally, grab some gloves and apply the sealant. Again, don't be modest when using it; make sure you cover all parts.
Salt Paste
The salt paste is a quick remedy but quite effective. It can prevent cracks by absorbing the moisture inside the wood and thus preventing any splits.
As you can already guess, using it when the wood is in a high humidity environment is advised.
To make this mixture, you will need salt, cornstarch, eggs, and a brush.
How to Make It
You will first have to make the salt solution. Get a bowl and add salt to it. It has to be enough not to oversaturate the water solution. Once you have completed the solution, mix it and leave it for a few hours.
Then, add cornstarch. Just like in the case of salt, do not add more than necessary as otherwise, it could harden the mixture.
In the next step, add 2-3 eggs to the bowl and mix it well to get a fine-textured paste.
Grab the brush and apply the salt paste to the wood surface. Leave the wood to dry for a few hours, and you should be ready.
Use Varnish

If the other methods don't catch your fancy, you may like this. Essentially, applying varnish will decrease the moisture evaporation rate from the wood.
Varnish works quite well and is extremely cheap, however, it involves a few steps, but the result is worth it.
You will need wood glue, warm water, a paintbrush, sandpaper, and towels to apply it.
How to Apply It
To apply the varnish, first sand the surface with 220 grit sandpaper. Then use a towel to clean the surface to remove any sawdust left. Now you need to prepare the varnish.
Take equal amounts of spar varnish and aluminum paint and pour them into a container. Stir this mixture well.
Now mix wood glue with warm water and stir the mixture well. The mixture should be thin so it doesn't dry quickly. This mixture will be our sealer.
Apply varnish and aluminum paint mixture to the wood surface. After the surface has dried, apply the sealer. The time for varnish to dry can vary.
Paintable Wax
If you want to save money, paintable wax is the best option. Not only is it cheap, but it will effectively protect the greenwood from any splits and cracks that could appear.
All you need for this are wax candles, paint thinner, a hammer, and a paintbrush.
For this method, you will need to prepare the wax. Simply put wax candles in a bag and crush them into tiny bits using a hammer. Now take a metal utensil and melt the wax on a light flame.
After it has melted, add paint thinner to the wax. This should be exactly one-fourth of the weight of melted wax. Use a spoon to mix the contents.
How to Apply It
Before we apply the mixture, make sure the wood is clean. You can use a towel lightly damped with water to clean the surface.
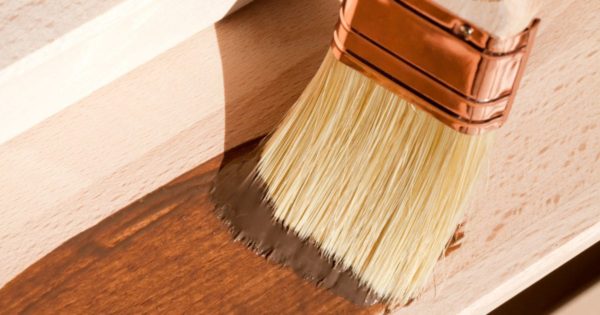
Now take a paintbrush and lightly apply the wax to the surface.
Make sure that the coating is thin and evenly distributed with no bumps. Once done, leave it to dry.
Linseed Oil
Linseed oil is one of the faster ways to ensure no cracks or splits in the wood.
It works great for people who are not into woodworking and just need a quick remedy to prevent any splits or cracks.
This method works particularly well in preventing wood cracks from direct sunlight.
You will need sandpaper, linseed oil, a towel, and a paintbrush.
How to Apply It
To apply this, first, we need to sand the wood surface. We recommend you use 220 grit sandpaper to ensure the wood grain texture doesn't get ruined.
After sanding, remove the sawdust using a wet towel and heat the linseed oil. Once it reaches boiling temperature, take a brush and apply the linseed oil.
Ensure the oil is hot when you apply it; otherwise, it may not seep through the surface. You can use several coats of linseed oil for better results.
Dry the wood, and that should take care of it.
Conclusion
In this guide, we discussed the main reasons for wood splitting. We also talked in detail about the best methods to ensure its prevention. To learn more about woodworking, click here.
Last Updated on September 14, 2022 by Tom Bradly
