How to Cut a Circle in Wood
There are no two ways about it, cutting circles in wood is a difficult task. Cutting a straight line is difficult, then imagine what you would have to go through to cut a perfect circle in wood. It is one difficult task that most woodworkers despise. Regardless of how difficult it is, with the right tools at your disposal, perfectly cutting a circle in wood is an achievable task.
There are a few ways you can cut a circle in wood and this article will discuss some of these ways, as well as how you can go about it. Whether this is your first time trying it out or you're simply looking for a better alternative, this article is for you.
Circle Cutting Techniques
Woodworkers, having identified how difficult cutting circles in wood can be, have come up with various techniques to ensure that they can perfectly cut these circles.
These techniques have proven to be helpful when it comes to cutting circles in wood. The techniques are:
Hole Saws
One of the simplest ways to make circles is to use a hole saw. While using this efficient piece of equipment, you also need to use a backer board. This board has been built to prevent blowout.
While using a hole saw to cut circles in wood, you need to retract the saw regularly to help clear sawdust and also reduce friction.
Belt Sander
Contrary to popular belief, you can convert your belt or disc sander to a circle cutting tool. However, you need to make use of a jig. Most of the jigsaws currently available for purchase on the market are quite easy to make use of.
A band saw is another fine circle cutting tool that you can make use of. Just like your belt sander, you need a jig to conveniently make use of this helpful tool.
How to Cut Circles in Woodblocks
There are a ton of reasons why you’d need to cut circles in wood, it could be for a woodworking project or something important like putting a pipe or other material through wood. Regardless of the reason for deciding to do this, choosing the best and easiest methods will forever be your best bet.
Having highlighted two tools that can be used for cutting circles, this section will share two separate circle cutting methods you can try out.

Method 1: Using a Hole Saw
Step 1 - Purchase the Right Tools
One of the very first items to get your hands on is a hole saw. This tool is a circular metal saw that has been built to be attached to what is referred to as a drill.
Hole saws have become an ideal circle cutting tool, especially for circles that are 6 inches or more. One of the most interesting features of this tool is that it is quick and incredibly easy to make use of.
Aside from getting a hole saw, there are a ton of those necessary attachments you would be needing to efficiently use this instrument — an arbor and a pilot drill.
The function of the pilot bit is to guide the saw as you begin cutting while the arbor itself is just a device that connects you to the drill.
Albeit being the easiest tool for cutting circles, one of the flaws of this tool is that it often leaves a tiny hole behind after every cut is made. If you're looking for a solid or perfect circle, this may not be the best tool for you.
One of the factors to take into consideration when choosing this tool is its diameter.
Aside from this tool, here are other necessary items you would be needing for this woodwork project:
Step 2 - Assemble the Hole Saw and Its Attachments
Assembling a hole saw and its attachments can be a bit tricky, especially if it's your first time. Here's how you go about it.
Assembling this tool has proven to be an easy task once you get the hang of it. All you need is to place the arbor and the drill in their respective positions. Read the manufacturer's manual for a detailed explanation of how you can go about this.
Depending on the size of the arbor and hole saw you opt for, you may need a hex key to turn the screw perfectly. If your hole saw is a few inches in its diameter, there's a guarantee it comes with another helpful tool that you would need to place right into the middle of the tool you own.
Step 3 - Use Clamps to Hold the Wood Pieces Together
Before modern technology, most woodworkers have had to resort to asking someone to help them hold the wood while they saw. This archaic act has been abolished since the development of clamps. They are a faster and better way to secure the wood.
Once you've successfully secured the wood with the help of the clamps, ensure that the space beneath the wood is free. This is a preventive measure that should never be overlooked.
Step 4 - Place the Pilot Bit at the Center Point of the Circle
Have the pilot bit positioned on a specific part of the wood. Once that is done, you will need to draw out the circle, then find the center point.
If you're not concerned with which part of the wood a circle is cut from, you may decide to place the pilot bit anywhere on the wood and drill. However, if you need to cut a circle from a specific part of the wood, draw it and ensure that the pilot bit is placed perfectly on it.
Step 5 - Start Drilling
Drilling can be quite tricky, this is why you need to pay careful attention. Bear in mind that as you begin to drill, the pilot bit will have to go in first before the hole saw makes contact with the wood surface. Now, here's the tricky part.
When drilling, the hole saw may get caught on the wood once the first contact has been made. To help you out, you need to be prepared and ready to lift the hole saw once it gets caught. When this happens, instead of going through the wood, it will either disturb the sawing process or may even damage your hands. To prevent this from happening, you need to be extra cautious and careful when using this tool.
Once the saw is caught in-between the woodblock you're working on, you need to lift it immediately. If you notice that wood has clogged the hole saw, here's what you should do.
Some woodworkers have sustained terrible injuries when carrying out this process and this is because they failed to heed this clear warning. For emphasis, it is advised that you leave the saw if it is caught in a woodblock you're working on, do NOT try to control it.
Step 6 - Flip the Board Midway
If you decide to cut through the wood without stopping, then a blowout is likely to occur. The backside of the wood will become too rough when the hole saw cuts through. To prevent this from happening, you need to flip the board over in between cuts.
The idea behind this is that your second cut will meet your first cut midway, making the cut cleaner and smoother. This is a basic woodworking knowledge that all woodworkers have mastered.
Once you've successfully cut a circle through the wood, you need to remove the circle of wood from the hole saw. Depending on how you drill, you may simply use your fingers to get the circle of wood out or you may have to apply extra pressure to get it out. If the latter is the case, this is where a flat-bladed screwdriver becomes of help.
All you would need to do is insert the tip of the screwdriver into the hole and push the wood out by gently hitting the tip of the screwdriver. This should be done carefully to prevent any dent in the circle of wood.
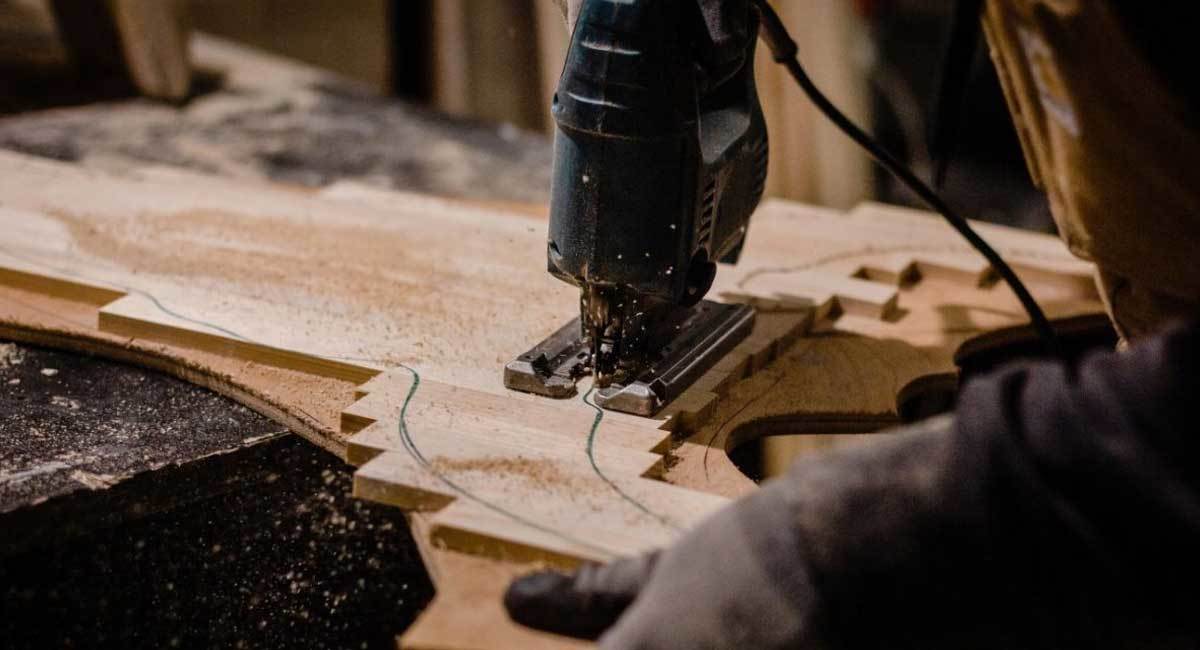
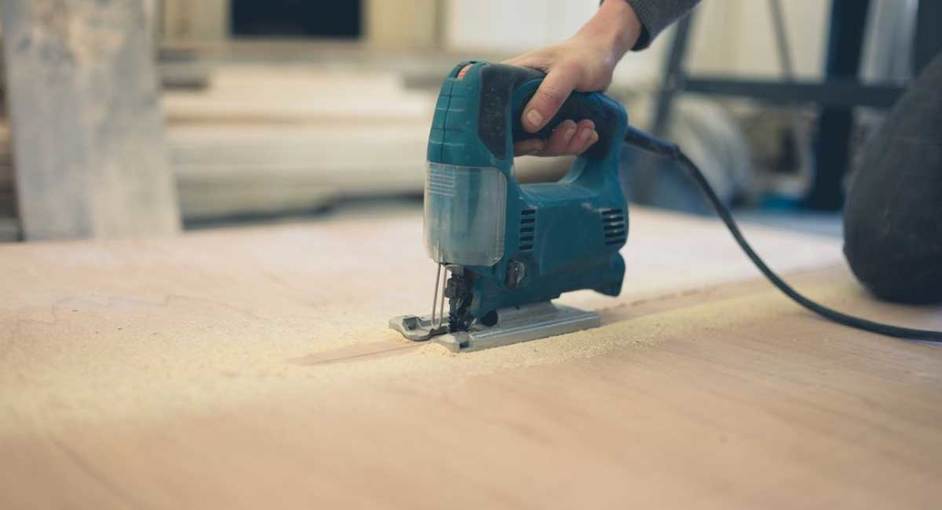
Method 2 - Small-bladed Power Saw
This is another easy method of cutting circles in woodblocks. Like the former, you need to pay careful attention to ensure that all comes out perfect. The steps are:
Step 1 - Draw a Circle in the Wood
To help you cut a circle in wood with the help of a saw, you would need a drawing of the circle to follow through. To get this drawing, you may trace a CD, or use a protractor or drafting compass.
A compass is your ideal tool if you need a circle that's of a specific measurement. However, if you just need any circle, tracing with a CD is the easiest and quickest way to go about it.
Step 2 - Pick the Items
Currently, there are a ton of power saws that can be used to cut circles in woodblocks. While most woodworkers prefer one tool to the other, you are to choose which tool suits you best. A few of the best ones to choose from are:
Aside from these tools, there are a couple of others you would need at your disposal to successfully cut a circle in woodblocks. They include:
Step 3 - Decide Which Side to Begin Cutting the Circle in First
Deciding on which side to cut from will depend on what you're using the wood for. For example, if you only need the circle of wood, then you need to cut from the side. On the other hand, if you need the wood to be intact or whole, then you need a drill for the job.
If you opt for the drill bit, then you would need to drill a hole in the woodblock. The hole should be big enough for you to insert a saw into it.
Step 4 - Direct the Saw
After making the necessary holes, you would need to direct the saw around the circle you've drawn. Bear in mind that for this to be successful, the teeth of the saw must be hitting the wood. Ensure that it is.
If you ever get tired while you're on this, stop and take a break. As you take a break, do not lift the saw off the wood, keep it in place.
Step 5 - Clear Out the Edges
Once you've successfully cut the circle, you will need sandpaper. The job of this tool is to keep the edges of the circle smooth. You need to carefully fix the rough edges or areas of the circle of wood, if you want this job to be smooth and presentable.
You can use an electric sander or any other sanding device of your choice to get this job done. However, if you're looking for a perfect job, an electric sander is your best choice.
Also, you can make use of any of the grit sandpaper available if you are unable to get an electric sander for this job. If that is the case, you may have to spend extra time working on it.
Conclusion
Cutting a circle in a woodblock is not an easy task. However, a couple of tools have been designed to enable you to handle this job efficiently.
Albeit efficient, most of these tools can be quite tricky. Fortunately, this piece has shared two separate methods you can implore to cut circles in woodblocks. The method you opt for will depend entirely on what type of circle you're cutting, how you want it, and your budget.
Last Updated on January 7, 2021 by Tom Bradly

