How to Stain Wood Furniture
Over the years, wood staining has become one of the best ways to improve the overall look of various wooden projects. Aside from making your furniture or woodworking project look more appealing, there are a ton of other advantages of wood staining.
Wood staining has become the ideal method of improving the aesthetic appearance of old wooden furniture at home. Do you have wooden pieces of furniture that may need a little revamping to improve their looks? If so, then wood staining is your best bet. To help you get started, this article will discuss in full how to stain wood furniture.
Benefits of Wood Staining
Before we dive into how to stain wood furniture, we’ll be discussing some of the many benefits of this practice. These benefits will spur you to try out this wooden improvement method.

Some of these benefits include:
- Prevents rotting - Generally, wood is prone to rotting, especially if you leave them uncared for for a long time. Rot will not only make your wooden project look unpleasant to the eyes, but it also has negative effects on the environment. Unknown to most people, rot can develop in a couple of ways with termites, mildew, and mold being the most common ones. When rot starts, it is quite impossible to stop its progress, that is why taking a preventative step early is advised. You should stain your old wooden pieces of furniture regularly to prevent them from rotting.
- Protection from various elements - The entry of various elements like rain and sunshine can have devastating effects on your wooden furniture. For example, if your wooden project absorbs too much water, it will break down soon enough. Things could go from bad to worse if this happens repeatedly. The best way to protect your projects from these elements is to stain them. Staining wood regularly will not only improve its outward appearance but will also preserve its structural integrity in the face of these elements.
- Easy to use - When the topic of wood staining is brought up, one follow-up question most people have asked is; is it better than painting?. Without mincing words, staining is better than painting because of its cost-effective nature and its ability to preserve the integrity of wooden projects. Unlike painting, staining is easier to carry out and also easier to maintain.
- Durability - In addition to the benefits mentioned here, durability has to be one of the foremost reasons why most woodworkers stain their wooden projects. As mentioned above, staining ensures that your wooden piece of furniture, albeit old, does not get rotten; neither does it get damaged. Staining will keep your wooden furniture durable and capable of lasting for years to come.
- Keeps the aesthetic appeal of your wooden furniture - With most second-hand stores springing up all over the world, you may decide to sell off old pieces of furniture at home to get extra dollars. Staining these pieces of furniture regularly will ensure that they always look pleasant, meaning that you can make good money from their sale if you ever decide to do so.
These benefits, amongst others, have spurred most wooden furniture owners to decide to stain their projects. Are you convinced this is the best way to preserve your projects? If so, then the next section is for you.
How to Stain Wood Furniture
For this project, you’ll be needing these essential materials.
If you're planning on staining pieces of furniture made from softwood or any other kind of wood, the first thing you would need to do is check for any defects on the wood. If there are holes or tiny defects, take your time to have these holes filled and all defects properly adjusted to perfection.
If there are holes in the wood, you need to get wood fillers to fill them up. This task is one that requires carefulness, so pay close attention to it. Inspect the wood thoroughly for any holes that may have been made by nails, or small cracks made by a pest, or anything else. If you find these holes, use the wood filler to fill them up.
If there are protruding nails, hammer them down carefully to prevent further damage to the wooden project. Continue to add fillers to the hole or cracks you find until it becomes even with the wooden surface.
Once the surfaces are even, use sandpaper to sand the surfaces thoroughly. While sanding, focus on the edges, corners, and designs. If you see that the surfaces are even, then you would have to use a paper towel or tack cloth that is soaked in mineral spirit to thoroughly wipe the wood.
If there are still rough edges, it is advised that you continue this process until every part of the wood becomes even.

Once all these have been done successfully, you can now take the first step to stain your wood furniture.
Step 1
One of the many problems many people have encountered over the years is that of choosing the best stain for their wooden projects. The availability of various stains on the market has made it increasingly difficult for most people to choose any of the stains available.
Currently, there are two distinct types of wood stains — oil and water-based stains. These stains, albeit useful, have unique advantages. While the former is not environmentally friendly, the latter is. Anyways, the type of wooden furniture you're staining will determine which is best for you.
When choosing any of these stains for your project, you have to take into consideration the color of the room you're planning to place the wooden furniture. If you want a lighter room, you may want to opt for the lighter stain.
If the piece of furniture you're staining is a dresser, you may decide to work only on the exterior part.
For safety purposes, you are advised to select an open room or store like a garage for this task. Keep the windows open, if that's not possible, then ensure that the fans are on. Do not stain wood furniture close to heat or open flame, as most of these stains are flammable.
Step 2
If the projects you are trying to refinish or stain are dressers or tables with handles, drawers, knobs, etc., you need to remove them. To do this, you can use a screwdriver or any of the other tools you own. Be sure that you protect the ground where you are working by laying down painting tarp on the floor.
Once you've successfully taken out the knobs, handles, and drawers, you need to clean the wood with any of the cleaning solutions available. Trisodium Phosphate (TSP) has been identified as one of the best cleaning solutions for wooden pieces of furniture. According to the specification found in the user manual, you may have to dilute this chemical with water.
To apply this chemical, you can decide to use either a sponge or spray to get the job done. Once you've applied this, wash off the exterior of the wood and allow it to dry off before you move to the third step.
When using TSP, you should follow the manufacturer's guidelines. Since TSP can damage finished wooden projects, be sure to wear protective gear as you apply it to the wood.
Step 3
As mentioned earlier, you need to allow the wood to dry off completely after the wash. Do NOT move to this step if the wood is not dry.
Assuming you've allowed the wooden project to dry, the next step will require a little bit of pressure to get things done. Since you must have sand off some of the edges for them to become even, this step shouldn't take up your time.
To remove the old finishing easier, chemical solutions are the best tool to make use of. Apply the chemical on the wood with the help of either a paintbrush or a spray can. Using a strong sponge, thoroughly clean off the finishing from the wood. This chemical may damage your hands if it comes in contact with it, so wear thick gloves for this.
If you decide to use any chemical solution to take off the old finishing from your wooden furniture, you may have to use grit-sandpaper to sand off certain parts of the wood. The reason for this is to ensure a tighter bond between the wood and the new stain you're trying to put on.
Step 4
Applying a sealant is the next step to take. This is almost like priming wood for painting. Just like priming, which helps to ensure better adhesion of the paint to the wood, applying sealant helps the wood to take in as much stain is needed to ensure that a perfect job is done.
Aside from applying a sealant before staining, most woodworkers apply sealants right after staining. You may decide to apply before or after the job is done, it is up to you.
To apply this sealant, you need to shake the can properly, then, with the help of a paintbrush, you apply the sealant to the woodblock. If there are decorative grooves, do not let the sealant fill them in. Using a clean and soft cloth, remove or clean off excess sealant you find on the wooden furniture.
Assuming you've done that, allow the sealant to dry off completely before sanding lightly. You can use any of the sanders for this job.
Once that is done, clean thoroughly. If you're running out of clean cloths for this job, a paper towel will suffice.
Step 5
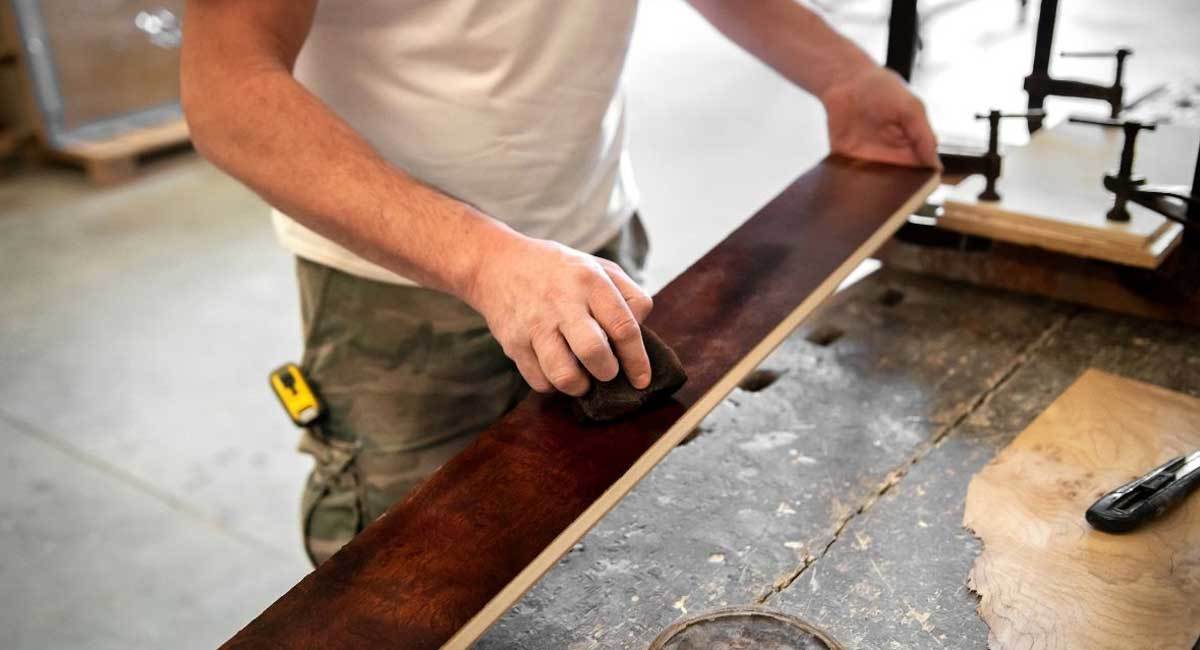
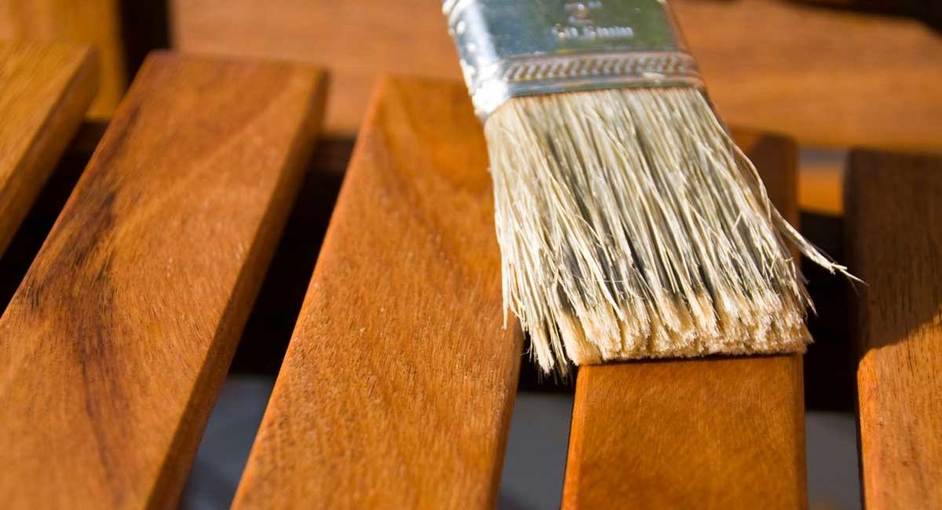
Using a clean cloth, a paper towel, or even a paintbrush, apply your preferred stain on the wood. Since you wouldn't want to waste any stain, you need to apply this as carefully as possible. If you want a darker color, you may decide to add a few extra coats to the wood until you're satisfied with what you see.
Once you're done, allow it to dry off, then lightly sand using low-grit sandpaper or any of the sanders you own. The sanding should be done between coats.
If you opt for water-based stains, you may have to moisten it to prevent raising the stains. Allow this to dry off and repeat the process if you want a darker color.
If you're done with this, ensure that you like what you see. If you do not, you may have to repeat the process. To finish off this fine work, you have to use a paintbrush to apply polyurethane sealer to the wood. The reason for this is to give the wood an additional layer of protection from various elements.
Bear in mind that this method of staining wood furniture can be used for both softwood and hardwood, the difference being that when working on hardwood, you may have to use electric sanders instead of your regular hand-held sandpaper.
Since hardwood is stronger, you also need to apply extra pressure when working with it. Additionally, if you notice any defects in your hardwood, you can also use wood filler to fill them up completely before you start work. All protruding nails should be hammered down and the surface should be even. Once you've done this, you can then begin the steps mentioned above.
Conclusion
Staining wood furniture has become one of the best ways to keep your piece of furniture durable and pleasing to the eyes. Regardless of your reason for deciding to stain wood furniture, we have discussed how you can do that.
Besides, we have shared a couple of benefits that we hope will spur you to try out this wood preservation method.
Last Updated on January 7, 2021 by Tom Bradly

